
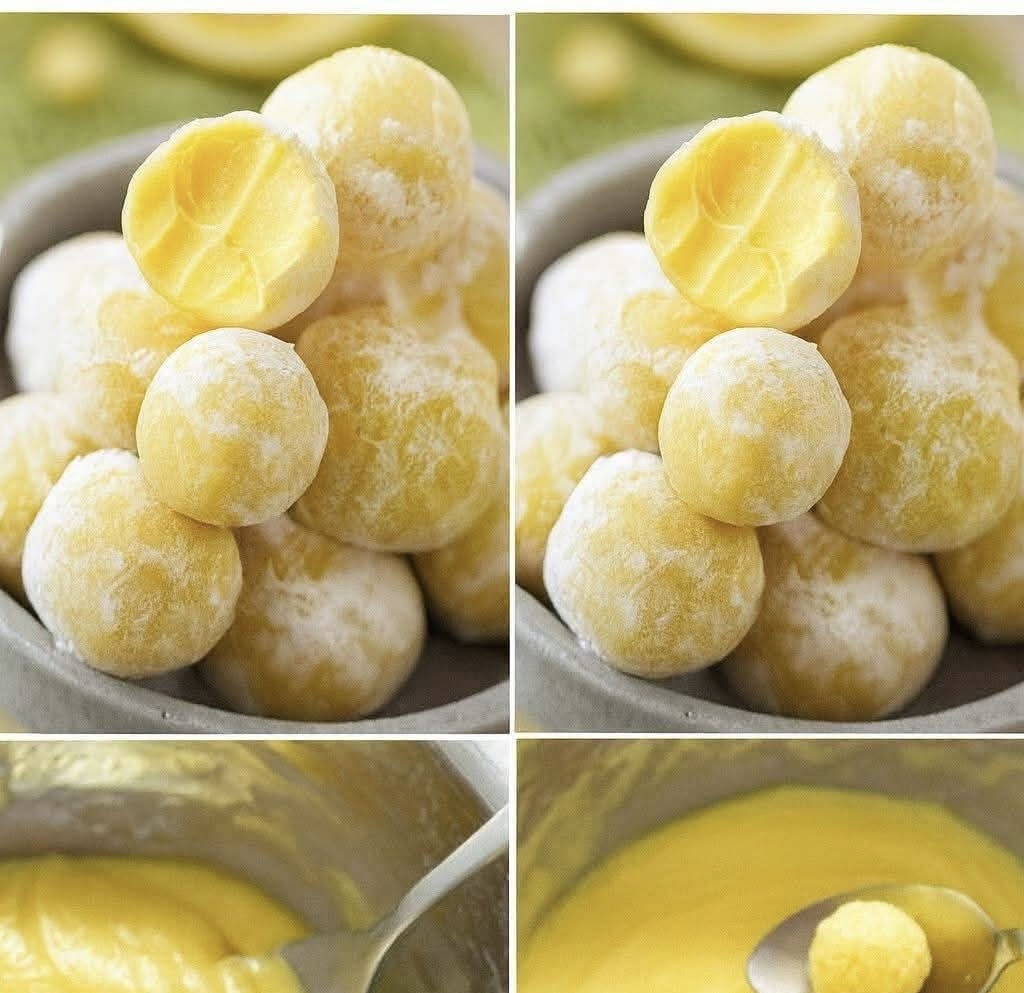
Lemon mochi is a wonderful fusion dessert that combines the uniquely chewy texture of Japanese mochi with bright, refreshing citrus flavor. I found two excellent approaches for you—one is a baked lemon mochi cake that’s incredibly easy for family baking , and the other is a more involved filled lemon mochi with a creamy custard center for when you want something extra special .
Here is a detailed recipe for the baked version, which is a fantastic place to start. It has all the characteristics of a delicious family treat: it’s simple to make, uses everyday ingredients, and yields a large pan of chewy, tangy-sweet squares that everyone will love .
🍋 Classic Baked Lemon Mochi Cake
This recipe is virtually foolproof. You simply mix everything in one bowl and pour it into a pan to bake. The result is a dessert with a crisp, golden exterior and a dense, satisfyingly chewy interior .
Ingredients
For the Mochi Cake:
· 16 oz (about 3 ½ cups) Mochiko (sweet rice flour): This is crucial; do not substitute with regular rice flour .
· 1 ½ to 2 cups granulated sugar: Adjust based on how sweet you like your desserts. Using 1 ½ cups will let the lemon flavor shine more .
· 2 teaspoons baking powder .
· ½ teaspoon salt .
· 3 cups milk (whole milk or a mix of milk and coconut milk): Using some coconut milk adds a lovely richness .
· ½ cup (1 stick) unsalted butter, melted and slightly cooled .
· 5 large eggs, lightly beaten .
· Zest of 2-3 lemons: The zest is where a lot of the lemon aroma comes from, so don’t skip it .
· ¼ cup fresh lemon juice: Freshly squeezed is best for a vibrant flavor .
· 2 teaspoons lemon extract (optional): This boosts the lemon flavor even further .
For the Optional Lemon Glaze (Highly Recommended):
· 1 ½ cups powdered sugar
· 2-3 tablespoons fresh lemon juice
Instructions
- Preheat and Prepare: Preheat your oven to 350°F (175°C). Grease a 9×13-inch baking pan thoroughly, or line it with parchment paper for easier removal .
- Combine Dry Ingredients: In a very large bowl, whisk together the Mochiko flour, sugar, baking powder, and salt. Whisking ensures there are no lumps .
- Add Wet Ingredients: Pour in the milk, melted butter, beaten eggs, lemon zest, lemon juice, and lemon extract (if using). Whisk until the batter is completely smooth. Don’t worry if it seems thin—that’s exactly how it should be .
- Bake: Pour the batter into your prepared pan. Bake for 50-60 minutes. The cake is done when the top is golden brown and a toothpick inserted into the center comes out clean . The baking time might vary slightly, so start checking around the 50-minute mark .
- Cool: Place the pan on a wire rack and let the mochi cake cool completely in the pan. This is important for it to set properly so it doesn’t crumble when you cut it .
- Glaze and Serve: Once the cake is cool, make the glaze by whisking the powdered sugar with lemon juice until smooth. Pour or drizzle it over the cake and let it set for a few minutes before slicing into squares .
💡 Tips for the Perfect Lemon Mochi
· The Right Flour is a Must: This is the most important tip. You must use Mochiko (sweet rice flour) or another brand of glutinous rice flour. It’s the key to that signature chewy texture .
· Fresh Lemons Make a Difference: For the brightest, most authentic lemon taste, use fresh lemon zest and juice. Bottled juice just can’t replicate that fresh, zesty kick .
· Patience with Cooling: I know it’s tempting to dig in right away, but letting the cake cool completely is essential. It firms up as it cools, making it much easier to cut into neat squares .
· Storage: Store any leftovers in an airtight container at room temperature for a couple of days or in the fridge for up to a week. Many people think the flavor is even better the next day .
This baked lemon mochi cake is a guaranteed crowd-pleaser. It’s a unique twist on a classic dessert that’s sure to become a new family favorite. If you’re feeling adventurous, the search results also have a recipe for filled lemon mochi with a lemon custard center for another time .
Enjoy your baking, and I hope your family loves this treat as much as the reviewers did