
Introduction
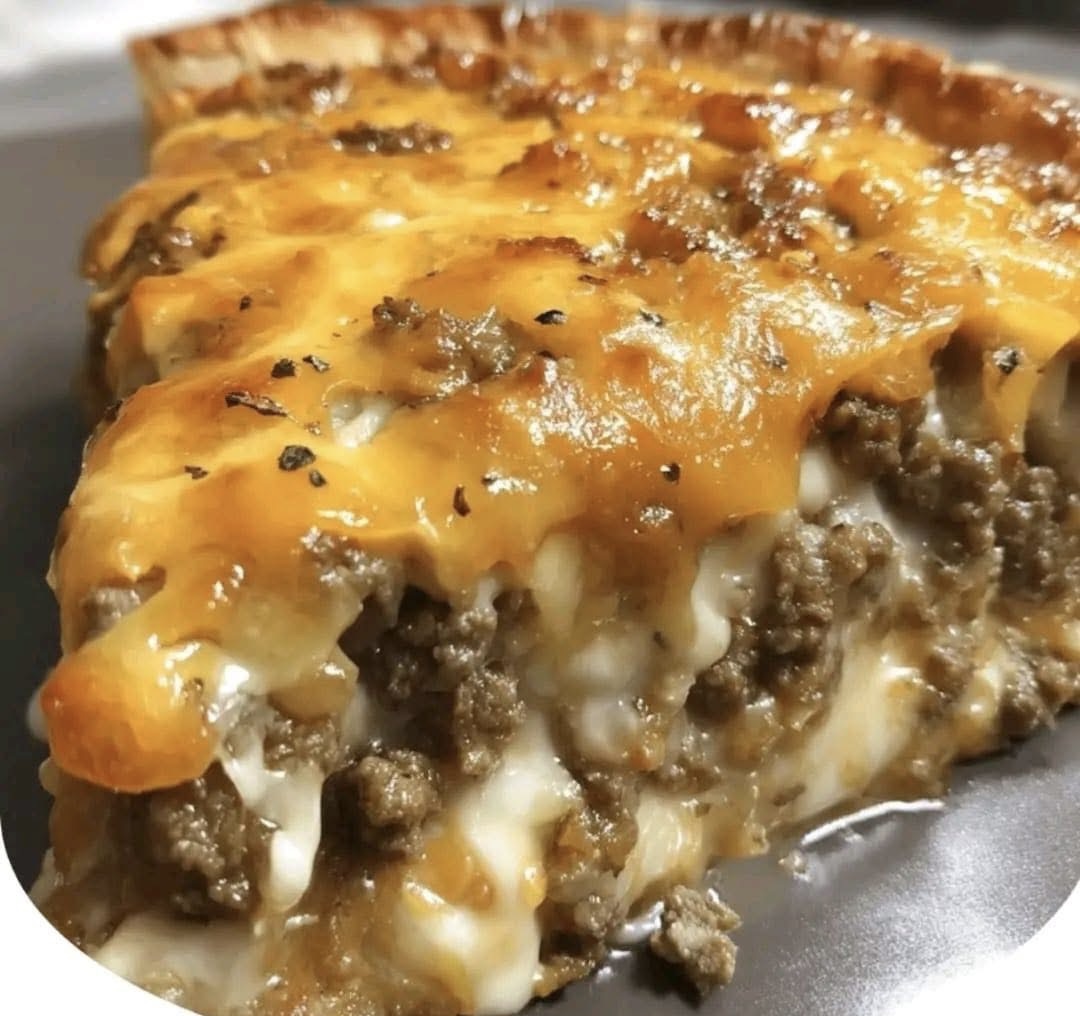
Get ready to redefine your weeknight dinner game with a dish that combines two of America’s most beloved comfort foods: the classic cheeseburger and the hearty, satisfying pie. We’re talking about the Impossible Cheeseburger Pie, a culinary marvel often championed by none other than the Pioneer Woman herself! This isn’t just any pie; it’s a savory sensation featuring a golden, flaky crust cradling a rich, seasoned ground beef filling, all topped with a generous, bubbly layer of melted cheddar cheese. The “impossible” part? It refers to the magic binder – a simple mixture of eggs, milk, and flour that creates a delightful, quiche-like base, holding all that deliciousness together without a top crust. It truly feels impossible that something so easy can taste so incredibly good!
What makes this Impossible Cheeseburger Pie a perennial favorite, especially for busy families, is its incredible ease of preparation and its universally appealing flavors. Imagine all the deliciousness of a juicy cheeseburger, complete with savory meat and melty cheese, transformed into an easy-to-slice pie that’s perfect for sharing. It’s hearty, comforting, and packed with flavor, making it an ideal candidate for a fuss-free weeknight meal, a casual potluck contribution, or even a satisfying lunch. The simple ingredients come together in a way that’s greater than the sum of its parts, delivering a robust, satisfying experience that will have everyone reaching for a second slice.
This recipe is designed to be approachable for cooks of all skill levels, delivering maximum flavor with minimal effort. You’ll love how quickly it comes together, going from pantry to plate in under an hour and a half, including baking time. The result is a beautifully golden pie, with a tender crust, a perfectly seasoned meat filling, and that irresistible, gooey cheese topping. It’s the ultimate comfort food mashup, promising to become a cherished staple in your recipe rotation. So, roll up your sleeves, preheat your oven, and prepare to bake up a slice of pure, cheesy, meaty bliss!
Nutritional Information
Per serving (approximate values):
- Calories: 450-550
- Protein: 30-35g
- Carbohydrates: 25-30g
- Fat: 25-35g
- Fiber: 2-3g
- Sodium: 600-800mg
Ingredients
- 1 refrigerated pie crust (9-inch), or homemade equivalent
- 1 pound lean ground beef (80/20 or 90/10)
- 1 large onion, chopped (about 1 ½ cups)
- 2 cloves garlic, minced
- ½ teaspoon salt
- ¼ teaspoon black pepper
- 1 tablespoon Worcestershire sauce
- 1 tablespoon ketchup
- 1 teaspoon yellow mustard
- 1 ½ cups shredded sharp cheddar cheese, divided
- 1 cup milk (whole milk recommended for richness)
- ½ cup all-purpose flour
- 2 large eggs
- Optional: 1 tablespoon fresh parsley, chopped, for garnish
Instructions
- Preheat your oven to 375°F (190°C). If using a refrigerated pie crust, unroll it and carefully place it into a 9-inch pie plate. Crimp the edges decoratively. If desired, you can blind bake the crust for 8-10 minutes to help prevent a soggy bottom, then remove and set aside.
- In a large skillet over medium-high heat, brown the ground beef, breaking it up with a spoon as it cooks. Once no pink remains, drain off any excess grease.
- Add the chopped onion to the skillet with the cooked beef. Sauté for 5-7 minutes, or until the onion is softened and translucent.
- Stir in the minced garlic, salt, black pepper, Worcestershire sauce, ketchup, and mustard. Cook for another 1-2 minutes, stirring constantly, until fragrant and well combined. Remove the skillet from the heat.
- Spread the seasoned ground beef mixture evenly over the bottom of the prepared pie crust.
- Sprinkle 1 cup of the shredded cheddar cheese evenly over the beef mixture.
- In a medium bowl, whisk together the milk, all-purpose flour, and eggs until smooth and well combined. This is your “impossible” binder that will create the quiche-like base.
- Carefully pour the milk and egg mixture over the beef and cheese in the pie crust.
- Sprinkle the remaining ½ cup of shredded cheddar cheese over the top of the pie.
- Place the pie plate on a baking sheet (to catch any potential drips) and bake in the preheated oven for 40-50 minutes, or until the crust is golden brown, the filling is set, and the cheese on top is melted, bubbly, and lightly browned. You can insert a knife into the center; if it comes out clean, the pie is done.
- Once baked, remove the pie from the oven and let it rest on a wire rack for at least 10-15 minutes before slicing and serving. This resting time is crucial to allow the filling to set properly, preventing it from falling apart when cut.
- Garnish with fresh chopped parsley if desired, and serve warm.
Cooking Tips and Variations
For the crispiest crust, consider blind baking your pie crust before adding the filling. Simply line the crust with parchment paper, fill with pie weights or dried beans, and bake at 375°F (190°C) for about 10-15 minutes, then remove the weights and paper before adding the filling. This creates a barrier against the moist filling.
Always drain excess fat from your ground beef after browning. A greasy pie can be unappetizing and compromise the texture of the crust. A quick tilt of the pan and a paper towel can do wonders.
While sharp cheddar is classic, don’t hesitate to experiment with other cheeses. Colby Jack, Monterey Jack, or even a blend of cheddar and mozzarella can offer different flavor profiles and melt beautifully. For a smoky twist, try using smoked cheddar or gouda.
To enhance the “cheeseburger” flavor even further, you can add a pinch of onion powder and garlic powder to the beef mixture along with the salt and pepper. A dash of hot sauce (like Tabasco or Cholula) can also add a nice kick if you enjoy a little spice.
If you’re looking for a healthier option, substitute lean ground turkey or chicken for the beef. For a plant-based version, use a plant-based ground “meat” substitute, ensuring it’s well-seasoned to capture that hearty flavor.
For an extra layer of flavor and texture, consider adding finely diced bell peppers (red or green) along with the onions. You could also stir in a few tablespoons of finely chopped pickles into the beef mixture for an authentic burger tang.
When whisking the “impossible” binder, ensure there are no lumps of flour. A smooth mixture will result in a more uniform and pleasant texture in the baked pie. Use a wire whisk for best results.
Don’t skip the resting time! This is a common mistake that can lead to a messy, crumbly pie. Allowing the pie to rest for 10-15 minutes allows the internal structure of the filling to set, making for clean, beautiful slices.
Serve your Impossible Cheeseburger Pie with classic burger accompaniments on the side. Think crisp shredded lettuce, sliced tomatoes, dill pickle chips, or even a dollop of “special sauce” (a mix of mayo, ketchup, and relish) for dipping. A simple green salad makes for a great light side dish to balance the richness.
Storage and Reheating
To store any leftover Impossible Cheeseburger Pie, allow it to cool completely to room temperature. Once cooled, cover the pie plate tightly with plastic wrap or aluminum foil, or transfer individual slices to an airtight container. Store in the refrigerator for up to 3-4 days.
For reheating individual slices, the microwave is the quickest option. Place a slice on a microwave-safe plate and heat on medium power for 1-2 minutes, or until warmed through. Be careful not to overheat, as this can make the crust soggy.
For reheating a larger portion or the entire pie, the oven is the best method to maintain a crisp crust. Preheat your oven to 300-325°F (150-160°C). Place the pie (covered loosely with foil to prevent over-browning of the cheese) on a baking sheet and heat for 15-25 minutes, or until heated through. Remove the foil for the last few minutes if you want to re-crisp the cheese topping.
Freezing the Impossible Cheeseburger Pie is also an option. To freeze, bake the pie as directed and allow it to cool completely. You can freeze the entire pie or individual slices. Wrap the cooled pie tightly in several layers of plastic wrap, then a layer of aluminum foil. For individual slices, wrap each slice individually before placing them in a freezer-safe bag or container. Frozen pie can be stored for up to 2-3 months. To reheat from frozen, thaw in the refrigerator overnight, then reheat in the oven as described above, or reheat directly from frozen in the oven at 350°F (175°C) for 30-45 minutes, covering with foil if needed.
Frequently Asked Questions
Can I make this pie ahead of time?
Yes, you can absolutely prepare parts of this pie in advance! The seasoned ground beef mixture can be cooked and stored in an airtight container in the refrigerator for up to 2 days. You can also assemble the entire pie (without baking) and refrigerate it for up to 24 hours. If baking from cold, you may need to add an extra 10-15 minutes to the baking time.
What if I don’t have a pie crust? Can I make it crustless?
While the crust adds a wonderful texture and presentation, you can technically make a crustless version. Simply grease a pie plate or baking dish well, spread the meat and cheese mixture, and pour the “impossible” binder over it. Bake as directed. The result will be more like a hearty quiche or frittata, but still delicious and satisfying.
My pie crust is getting too dark before the filling is set. What should I do?
If you notice your pie crust browning too quickly, you can create a “pie shield” out of aluminum foil. Simply tear off a piece of foil, fold it into a ring, and gently place it over the edges of the pie crust. This will protect the crust from over-browning while allowing the filling to continue cooking. Alternatively, you can buy pre-made pie shields.
Can I add other vegetables to the pie?
Absolutely! This recipe is very adaptable. Finely diced bell peppers (any color), mushrooms, or even a handful of spinach (sautéed and squeezed dry) can be added to the ground beef mixture for extra flavor and nutrients. Just be mindful not to add too much moisture, which could make the pie soggy.