
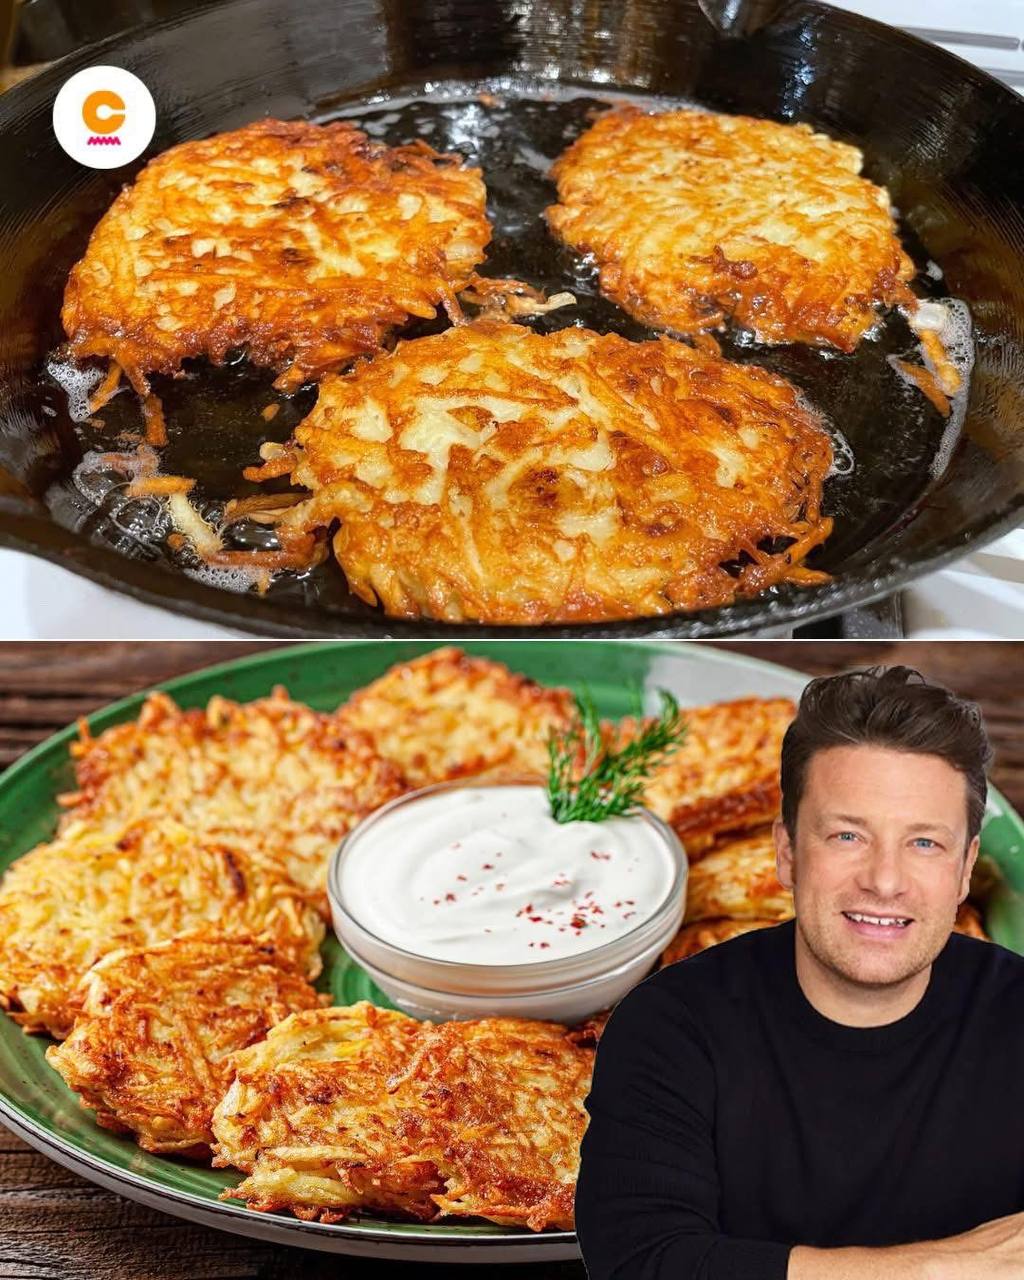
Crispy Potato Rösti
There’s something undeniably comforting and utterly delicious about a perfectly crispy potato rösti. Hailing from the picturesque mountains of Switzerland, rösti is far more than just a potato pancake; it’s a testament to simple ingredients transformed into a culinary masterpiece. Imagine golden-brown strands of potato, meticulously cooked until each bite delivers a satisfying crunch, giving way to a tender, fluffy interior. It’s a dish that embodies rustic elegance, a humble staple elevated to an art form through careful preparation.
What makes a great rösti truly special is that incredible crispy texture. It’s not just about cooking potatoes; it’s about coaxing out their very best, creating a sublime contrast between the shatteringly crisp exterior and the soft, earthy potato within. While traditionally a hearty breakfast item, often served alongside bacon and eggs, rösti’s versatility knows no bounds. It shines equally bright as a sophisticated side dish for grilled meats or fish, a delightful brunch centerpiece, or even a satisfying snack on its own. Its universal appeal lies in its straightforward perfection, proving that sometimes, the simplest recipes are the most profound. With just a few key techniques and quality ingredients, you can recreate this Swiss classic in your own kitchen, bringing a touch of Alpine charm to your table.
This recipe focuses on achieving that coveted crispy perfection, ensuring every forkful is a celebration of texture and flavor. We’ll guide you through the process, from selecting the right potatoes to mastering the pan-frying technique, so you can impress your family and friends with a rösti that rivals any Swiss establishment. Get ready to discover the magic of shredded potatoes, transformed into a golden, irresistible disc of pure deliciousness. And yes, if you’re wondering, this method captures the essence of what culinary legends like Jamie Oliver champion when it comes to perfect rösti: maximum crispness and unforgettable flavor.
Nutritional Information
Per serving (approximate values):
- Calories: 380
- Protein: 5g
- Carbohydrates: 45g
- Fat: 20g
- Fiber: 4g
- Sodium: 280mg
Ingredients
- 4 large (about 2 lbs or 900g) starchy or all-purpose potatoes (e.g., Russet, Maris Piper, or Yukon Gold)
- 4 tablespoons unsalted butter, divided
- 2 tablespoons neutral cooking oil (e.g., canola, vegetable, or sunflower oil), divided
- 1 teaspoon sea salt, or to taste
- 1/2 teaspoon freshly ground black pepper, or to taste
- 1/4 cup sour cream, for serving
- 1 tablespoon fresh dill, finely chopped, for garnish
- Pinch of chili flakes, for garnish (optional)
Instructions
- Begin by peeling the potatoes. Once peeled, immediately grate them using the coarse side of a box grater or a food processor with a grating attachment. The goal is to create long, uniform strands of potato.
- Transfer the grated potatoes to a clean kitchen towel or several layers of paper towels. This step is crucial for achieving crispiness. Gather the edges of the towel and twist it firmly to squeeze out as much excess moisture as possible from the potatoes. You’ll be surprised how much liquid comes out! The drier the potatoes, the crispier your rösti will be.
- Once thoroughly squeezed, transfer the dry grated potatoes to a large mixing bowl. Season generously with 1 teaspoon of sea salt and 1/2 teaspoon of freshly ground black pepper. Toss gently with your hands to distribute the seasoning evenly.
- Heat a large (10-12 inch or 25-30 cm) non-stick or well-seasoned cast iron skillet over medium-high heat. Add 2 tablespoons of unsalted butter and 1 tablespoon of neutral cooking oil to the pan. Allow the butter to melt and foam, ensuring the oil is hot but not smoking. The combination of butter and oil adds flavor and helps prevent burning.
- Once the fat is shimmering and hot, add all the seasoned grated potatoes to the skillet. Use a spatula or the back of a spoon to gently press the potatoes down into an even, compact layer, forming a flat disc. Do not press too hard initially, as you want some air pockets for crispiness.
- Reduce the heat to medium-low. This is important for allowing the rösti to cook through without burning the exterior. Let the rösti cook undisturbed for 15-20 minutes. During this time, resist the urge to peek or move it. This allows a beautiful, golden-brown crust to form on the bottom. You can gently lift an edge with a spatula after about 15 minutes to check for golden color.
- Once the bottom is beautifully golden and crisp, it’s time to flip the rösti. This can be the trickiest part, but with confidence, it’s easy. Place a large plate or a cutting board over the skillet. Carefully and confidently invert the skillet onto the plate/board, so the rösti is now resting, cooked side up, on the plate.
- Add the remaining 2 tablespoons of unsalted butter and 1 tablespoon of neutral cooking oil to the now-empty skillet. Allow it to melt and heat up again.
- Carefully slide the rösti back into the skillet, uncooked side down. Use your spatula to gently press it down again, ensuring even contact with the pan.
- Continue to cook on medium-low heat for another 15-20 minutes, or until the second side is also deeply golden brown and crisp. The total cooking time will vary depending on your stove and the thickness of your rösti.
- To check for doneness, the rösti should feel firm and crisp when tapped. You can also insert a thin skewer into the center; it should go in easily, indicating the potatoes are cooked through.
- Once cooked, carefully slide the crispy potato rösti onto a clean serving plate or cutting board. Immediately sprinkle with a little extra sea salt, if desired.
- To serve, cut the rösti into wedges. Top generously with a dollop of sour cream, a sprinkle of fresh chopped dill, and a pinch of chili flakes for a touch of warmth and color. Serve hot and enjoy immediately!
Cooking Tips and Variations
For the ultimate crispy potato rösti, selecting the right potato is paramount. Starchy potatoes like Russets or all-purpose varieties such as Yukon Golds work best because their lower moisture content (compared to waxy potatoes) helps achieve that coveted crispness. Waxy potatoes tend to be gummier when grated and cooked this way. Another critical step is to thoroughly squeeze out all excess moisture from the grated potatoes; this is often the difference between a soggy rösti and a glorious, crisp one. Use a clean kitchen towel and twist it tightly until no more liquid drips out. Don’t be afraid to apply significant pressure here. When cooking, ensure your pan is adequately hot before adding the potatoes, and don’t overcrowd it. If making multiple röstis, cook them in batches. Patience is key: resist the urge to flip the rösti too early. Let it cook undisturbed on each side until a deep golden-brown crust forms, typically 15-20 minutes per side on medium-low heat. This slow cooking allows the interior to become tender while the exterior develops its signature crispness. Gently pressing the rösti with a spatula during cooking helps create a uniform surface for maximum contact with the hot fat, enhancing crispiness.
To prevent sticking, use a well-seasoned cast iron skillet or a high-quality non-stick pan. Ensure there’s enough fat (butter and oil combination is best for flavor and high smoke point) in the pan, and that it’s properly heated before adding the potatoes. If your rösti isn’t crispy, it’s likely due to too much moisture in the potatoes, not enough fat, or cooking at too low a temperature that steams rather than fries. To prevent burning, keep the heat at medium-low once the rösti is in the pan. If the crust is browning too quickly, lower the heat further. If it’s still not crispy after cooking, you can briefly increase the heat to medium-high for a minute or two on each side at the very end, watching it carefully.
Rösti is incredibly versatile, allowing for numerous delicious variations. For a cheesy twist, mix 1/2 cup of grated Gruyère or sharp cheddar cheese into the potato mixture before cooking. This adds a wonderful savory depth and a gooey texture. To incorporate aromatic flavors, finely dice 1/4 cup of onion or shallot and sauté it until translucent before adding it to the grated potatoes. Fresh herbs like chives or parsley can be mixed in for a brighter flavor profile. For a heartier version, crumble cooked bacon bits into the potato mixture. You can even make individual mini röstis using smaller skillets or forming small patties. While typically savory, rösti can also be served with sweeter accompaniments like homemade applesauce, which offers a delightful contrast. Beyond sour cream and dill, consider serving it with a fried egg on top for breakfast, alongside smoked salmon and crème fraîche, or as a bed for roasted vegetables. The possibilities are endless, making rösti a fantastic canvas for your culinary creativity.
Storage and Reheating
Leftover crispy potato rösti can be stored in an airtight container in the refrigerator for up to 3-4 days. To maintain its best texture, it’s crucial to allow the rösti to cool completely before storing, as trapping steam will make it soggy. While it won’t be quite as crispy as freshly made, there are effective ways to reheat it to bring back some of its delightful crunch.
The best method for reheating rösti is in the oven or an air fryer. Preheat your oven to 375°F (190°C). Place the rösti directly on a baking sheet and heat for 10-15 minutes, or until thoroughly heated through and the edges begin to crisp up again. For an air fryer, preheat to 350°F (175°C) and cook for 5-8 minutes, checking periodically, until hot and crispy. You can also reheat it in a skillet on the stovetop. Heat a small amount of oil or butter in a non-stick pan over medium heat, then add the rösti and cook for 3-5 minutes per side, pressing gently, until warmed through and re-crisped. Avoid reheating in the microwave, as this will result in a soft, often rubbery texture, losing all the wonderful crispiness that makes rösti so special.
Frequently Asked Questions
What kind of potatoes are best for rösti?
For the crispiest rösti, starchy potatoes like Russet (also known as Idaho) or Maris Piper are ideal. All-purpose potatoes like Yukon Gold also work very well. These varieties have a lower moisture content and a higher starch content, which helps them brown beautifully and form a crisp crust without becoming gummy. Avoid waxy potatoes like red new potatoes, as they tend to hold too much moisture and result in a less crispy texture.
Do I need to par-boil the potatoes before grating?
No, par-boiling the potatoes is not necessary for this crispy rösti recipe and is often avoided for a truly traditional, rustic rösti. This recipe uses raw, grated potatoes, which are then thoroughly squeezed of excess moisture. Cooking them from raw in the pan allows them to develop that distinct crispy exterior and tender interior. Some recipes might call for par-boiling, but that often results in a different texture, more akin to a mashed potato pancake rather than the distinct shredded texture of a classic rösti.
My rösti is sticking to the pan. What am I doing wrong?
Several factors can cause sticking. Firstly, ensure you are using a well-seasoned cast iron skillet or a high-quality non-stick pan. Secondly, make sure your pan is sufficiently hot before adding the potatoes, and that you have enough fat (butter and oil) in the pan. The fat should be shimmering. Thirdly, resist the urge to move or flip the rösti too early. Allow a solid crust to form on the bottom, which creates a natural release from the pan. If you try to move it before it’s ready, it will tear and stick. Finally, ensure the heat isn’t too low, which can cause the potatoes to steam rather than fry and stick.
Can I make rösti ahead of time?
While rösti is best enjoyed immediately after cooking for maximum crispiness, you can prepare some components in advance. You can peel and grate the potatoes, then store them submerged in cold water in the refrigerator for up to a few hours to prevent browning. Just be sure to drain and thoroughly squeeze out all the moisture right before cooking. You can also cook the rösti completely, let it cool, and then reheat it following the instructions above. However, the texture will be best when cooked fresh.