

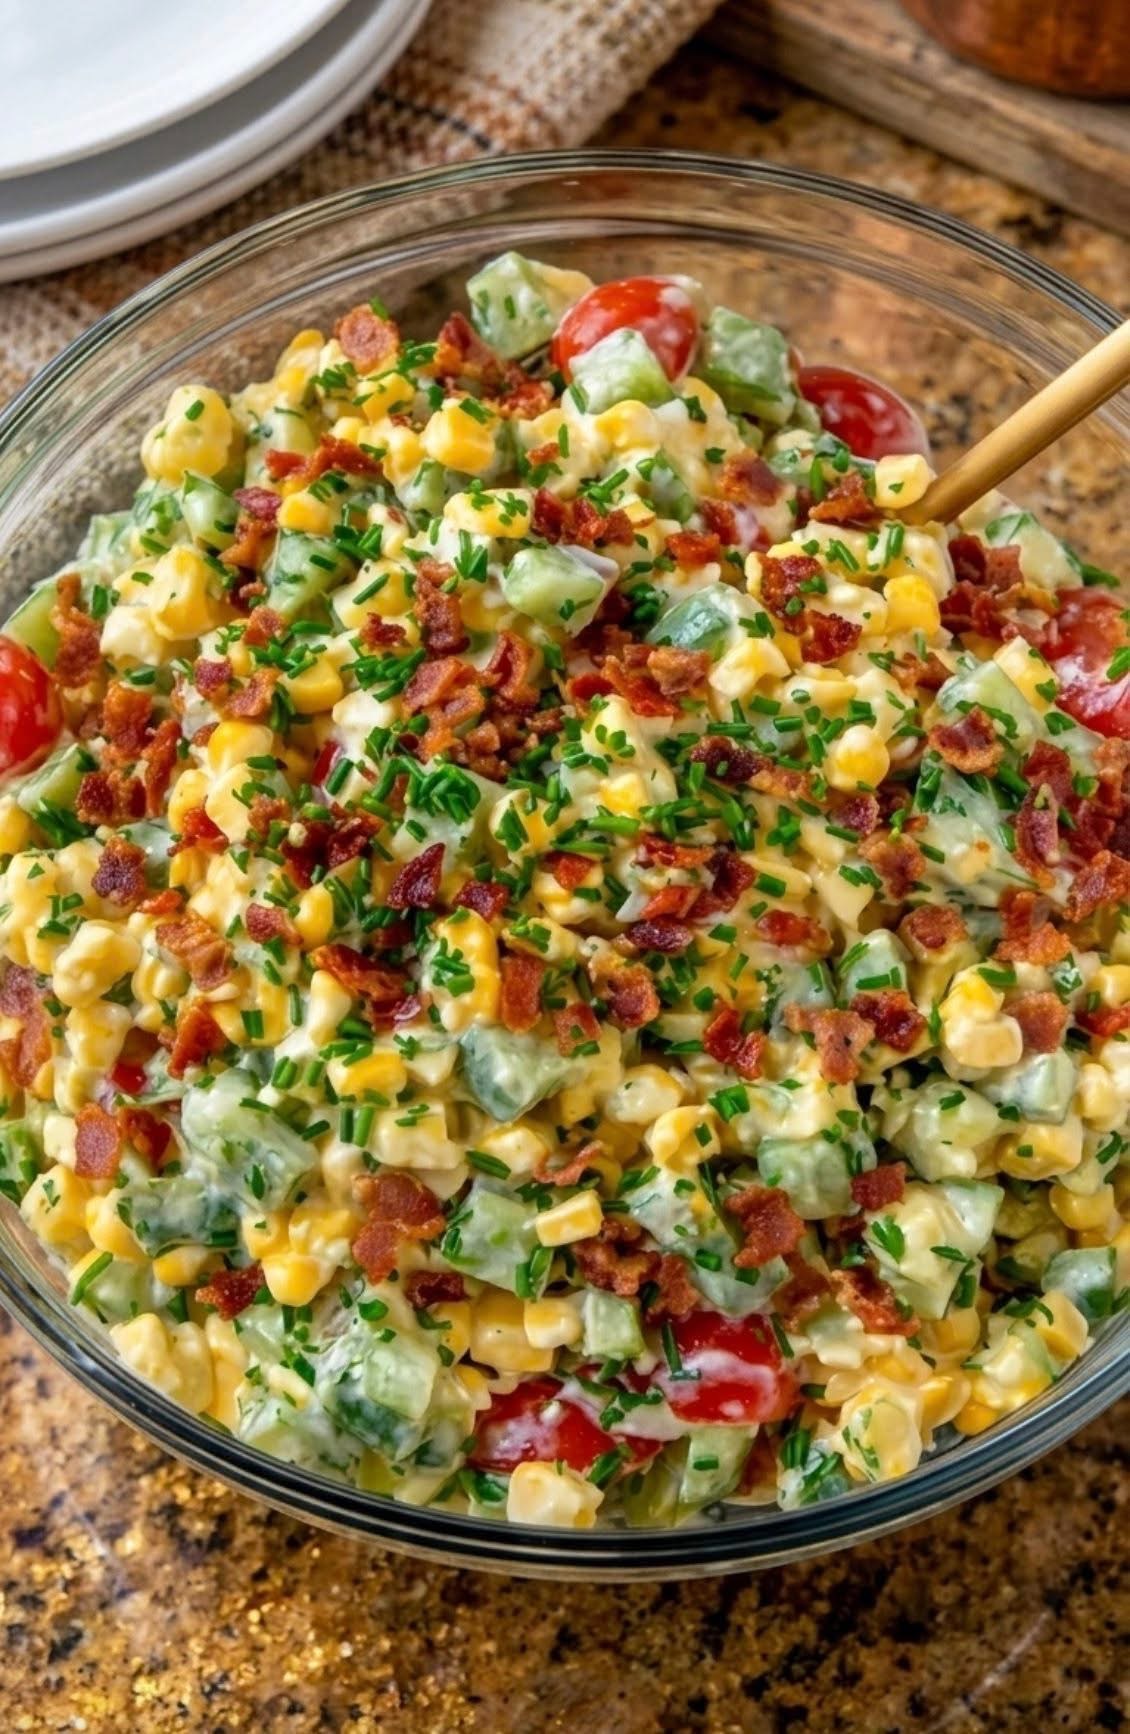
There is a very specific kind of nostalgia that hits you when you see a glass bowl filled with bright, crunchy, creamy corn salad at a summer potluck. If you grew up attending Midwestern church picnics or Southern family reunions, you already know the magic of this dish.
But today, we aren’t just making any corn salad. We are making the classic Shoepeg Corn Salad.
If you aren’t familiar, Shoepeg corn is that special variety of sweet white corn with little flat, peg-shaped kernels. It’s sweeter, crunchier, and holds its texture beautifully in dressings. This recipe follows my mother-in-law’s golden rule for family gatherings: it relies on just a few core, humble ingredients, requires absolutely zero cooking, and is so highly enjoyed that it is completely consumed before the main course is even served!
Grab your favorite mug of sweet tea, because we’re about to mix up a bowl of pure, crunchy, farmhouse nostalgia.
Why This Recipe is a Total Game-Changer
As someone who truly appreciates the science behind good cooking, I love what happens in the bowl when we make this salad.
The magic here is all about maceration and emulsion. When you whisk together mayonnaise, sugar, and vinegar, you create a sweet-and-sour emulsion. When this dressing sits with the fresh bell peppers and onions, the mild acidity of the vinegar gently breaks down the cell walls of the raw vegetables. This softens their harsh, raw bite while releasing their natural sugars into the dressing. The result? A perfectly balanced, harmonious flavor where every ingredient tastes like it belongs together.
Plus, from a health perspective, this salad is a powerhouse! The fresh peppers and onions are loaded with Vitamin C and antioxidants, which are wonderful for supporting my circulation and keeping those unexplained purple blotches on my arms at bay. It’s a delicious way to nourish your blood vessels while enjoying a classic comfort food.
Ingredients You’ll Need
The beauty of this recipe is its absolute simplicity. You likely have everything you need right in your pantry and fridge.
The Core Base:
- 2 cans (15 oz each) whole kernel Shoepeg corn: Drained well. Substitute: If you can’t find Shoepeg corn, regular white or yellow sweet corn works beautifully, though you’ll miss out on that specific, nostalgic crunch!
- 1 cup full-fat mayonnaise: This is the creamy backbone of the dish. Substitute: If you prefer a lighter version, you can use half mayo and half plain Greek yogurt.
- ½ cup granulated sugar: This is the secret ingredient that balances the tang of the vinegar.
- ¼ cup white vinegar (or apple cider vinegar):Apple cider vinegar adds a lovely, fruity depth.
The Crunch & Color:
- 1 medium green bell pepper: Finely diced. Substitute: Red bell pepper for a sweeter bite and a pop of color.
- ½ cup finely diced celery or sweet Vidalia onion: For that essential, refreshing crunch.
The Pantry “Freebie”:
- ½ tsp celery salt (or regular kosher salt) & ¼ tsp black pepper: To wake up all the flavors.
Step-by-Step Instructions
Let’s get mixing! I promise this process is incredibly relaxing and takes less than fifteen minutes.
1. Create the Sweet Emulsion
In a large mixing bowl, combine your mayonnaise, granulated sugar, and vinegar. Whisk it vigorously for about 1 to 2 minutes. Science tip: You want to whisk until the sugar is completely dissolved and the mixture looks glossy. This ensures you don’t get a gritty texture at the bottom of the bowl!
2. Prep the Veggies
While the dressing sits, finely dice your green bell pepper and celery (or onion). Crucial tip: Take the time to dice them small and uniform! You want the veggies to act as little flavor-bombs in every single spoonful, rather than overwhelming the delicate corn.
3. Fold and Combine
Add your well-drained Shoepeg corn and the diced vegetables to the bowl with the dressing. Add the celery salt and black pepper. Using a rubber spatula, gently fold everything together until the corn and veggies are completely and evenly coated in the creamy dressing.
4. The Crucial Chill
Cover the bowl tightly and pop it in the refrigerator for at least 4 hours, though leaving it overnight is absolutely best. Science tip: This resting period is non-negotiable! It allows the corn to absorb the sweet-and-sour dressing and the raw vegetables to mellow out, transforming it from a simple mixture into a cohesive, restaurant-quality salad.
5. Stir and Serve
Right before serving, give the salad a good stir. The dressing will have thickened up in the fridge. Taste it and add a tiny pinch more salt or pepper if needed. Serve chilled!
Pro Tips, Variations & Serving Ideas
Quick Tips for Success
- Drain the Corn Completely: If your corn is wet, it will water down your mayonnaise dressing and make the salad soupy. Let it sit in a colander for 10 minutes, or pat it dry with a paper towel.
- Don’t Skip the Sugar: It sounds like a lot, but the sugar doesn’t make the salad taste like dessert. It perfectly balances the sharp bite of the vinegar, creating that signature “tangy-sweet” profile.
Fun Variations to Try
- The “Avocado Lover’s” Twist: Since I have a strong personal preference for avocados and incorporate them into almost every single meal (even though my children absolutely do not share my liking for them!), I love making a split batch. I’ll keep the main bowl classic for the family. For my own bowl, I fold in half a diced, ripe avocado right before eating. The creamy, heart-healthy fats are fantastic for my circulation, and it makes the salad extra luxurious!
- The Spicy Southern: Add a finely diced jalapeño (seeds removed) and a dash of hot sauce to the dressing for a wonderful, warming kick.
How to Serve It (The Interactive Picnic Bar!)
Since I love setting up interactive food bars at my gatherings, this corn salad is the perfect cool, crunchy centerpiece to balance out hot, heavy barbecue dishes.
Serve it in a beautiful, chilled glass bowl alongside a “Crunch Topping Station.” Set out small jars of crushed butter crackers, crispy bacon bits, and diced fresh tomatoes so guests can customize their bowls.
Because this dish is so rich, creamy, and tangy, it acts as the perfect complementary side to a variety of main dishes. I love serving it alongside grilled chicken, pulled pork, or even just scooped onto a crisp butter lettuce cup. And since I always enjoy a nice glass of wine with dinner, this dish pairs absolutely beautifully with a crisp, chilled Sauvignon Blanc or a light, dry Rosé. The bright acidity of the wine cuts right through the richness of the mayonnaise, creating a perfectly balanced bite! If it’s a hot afternoon, it goes wonderfully alongside a tall glass of iced sweet tea with a squeeze of fresh lemon.
Frequently Asked Questions
Q: Why did my corn salad turn out watery? A: This usually happens if the corn wasn’t drained completely, or if the vegetables released too much water. Make sure your corn is very dry, and if you use onions instead of celery, be sure to use a sweet variety and serve it within 24 hours.
Q: Can I make this ahead of time? A: Absolutely! In fact, it’s one of the best make-ahead side dishes. You can mix it up to 24 hours in advance and keep it in the fridge. Just give it a gentle stir before serving to redistribute the dressing.
Q: Can I use frozen corn instead of canned? A: You certainly can! Just thaw 3 cups of frozen sweet corn and pat it very dry before mixing it into the dressing. The texture will be slightly softer than canned Shoepeg corn, but the flavor will still be delicious.
Let’s Bring Some Comfort to the Table!
I truly hope this Retro Shoepeg Corn Salad brings a little extra joy, crunch, and nostalgia to your next family meal or summer potluck. There is something so deeply satisfying about taking a few simple, humble ingredients and turning them into a dish that everyone reaches for again and again. It’s a beautiful reminder that the best food doesn’t need to be complicated; it just needs to be made with a little love and served with a warm smile.
If you try this recipe, I would absolutely love to hear how it turned out for you! Did you stick to the classic green pepper, or did you add some jalapeño for a kick? Drop a comment below to let me know, and please share this recipe with a friend who needs a foolproof, crowd-pleasing side dish idea for their next barbecue. Happy mixing, and I’ll see you in the kitchen!